
bed set
Our bed set and first woodworking project
I made a bed frame! This was my first non-shop related woodworking project. The over all design was inspired from Jenn’s mistake diy #6 video
I really liked the large wall covering head board and the floating look of the bed frame and night stands. I made a few changes to the build video, including using maple instead of white oak (cheaper where I am and there’s already some maple featured in our home). The second change was removing the quilted like joinery of the backboard in favor of a smooth panel. In hindsight I’m not sure that was a good idea because its hard to get a perfect joint on smooth panels without the round over to help hide the imperfections.
All in all I like the way it turned out.
The rails
The first parts I made were the bed frame rails. I knew I wanted a something simple with a bit of accent. I’ve liked working with maple for a few shop projects, it was relatively cheap and I had some padauk due to a cheap buy earlier in the year. Note to self, Padauk was great to machine but the really annoying to keep it from staining the maple.

Bed rail accent
Bed rails consist of maple runners with a padauk accent on each end of the foot board runner. They are joined with screws to an 80/20 support runners
The legs
The bed is supported with 5 80/20 15 series runners that span the head board to the foot rail. Each runner is attached to the head board and supported by an offset leg that sits about 1.5-2ft from the bed frames end. This was offset was so that the feet remain hidden when the bed is viewed from standing height. I originally tried using plywood runners with 1.5x1.5in cross sections to support the bed but there was too much give for my taste, I prefer a bed frame that feels as solid as the floor. The legs themselves consist of a padauk arch with notches cut for each 80/20 rail, 4x4in legs inset from the sides by ~1.5ft and several accent holes (even though the arch is not visible).

Head board
What I really enjoyed about Jenns design was the wall spanning wood headboard. It really made the other wise simple design feel grand. And In our case, it really warms the asethetic of the room. The head board consisted of 4 plywood panels with ~1in maple hardwood edge bands on each side. The panels are joined together with plywood straps along the back side of the panel. It’s then attached to the wall with french cleats and a few screws along the base to prevent the cantilevered bed frame from pulling it up. Holes are cut on each side of the bed to accomodate two night stands. Note I opted for threaded insers instead of a french cleat here because I was already adding threaded inserts from the plywood straps on the backside and a few more didn’t seem like an issue.

head board
backside of the head board showing plywood cleats and straps

head board
mounted head board with base support and legs attached
Night stands
The night stands were made with solid maple sides and maple plywood for the tops and bottoms. There is a notch on the backside that aligns to a hole in the headboard allowing power to be routed to a wireless larger and outlets accessible on the top of the night stand. Each has a single drawer with a drawer face that will, eventually, hide the plywood edge when closed.
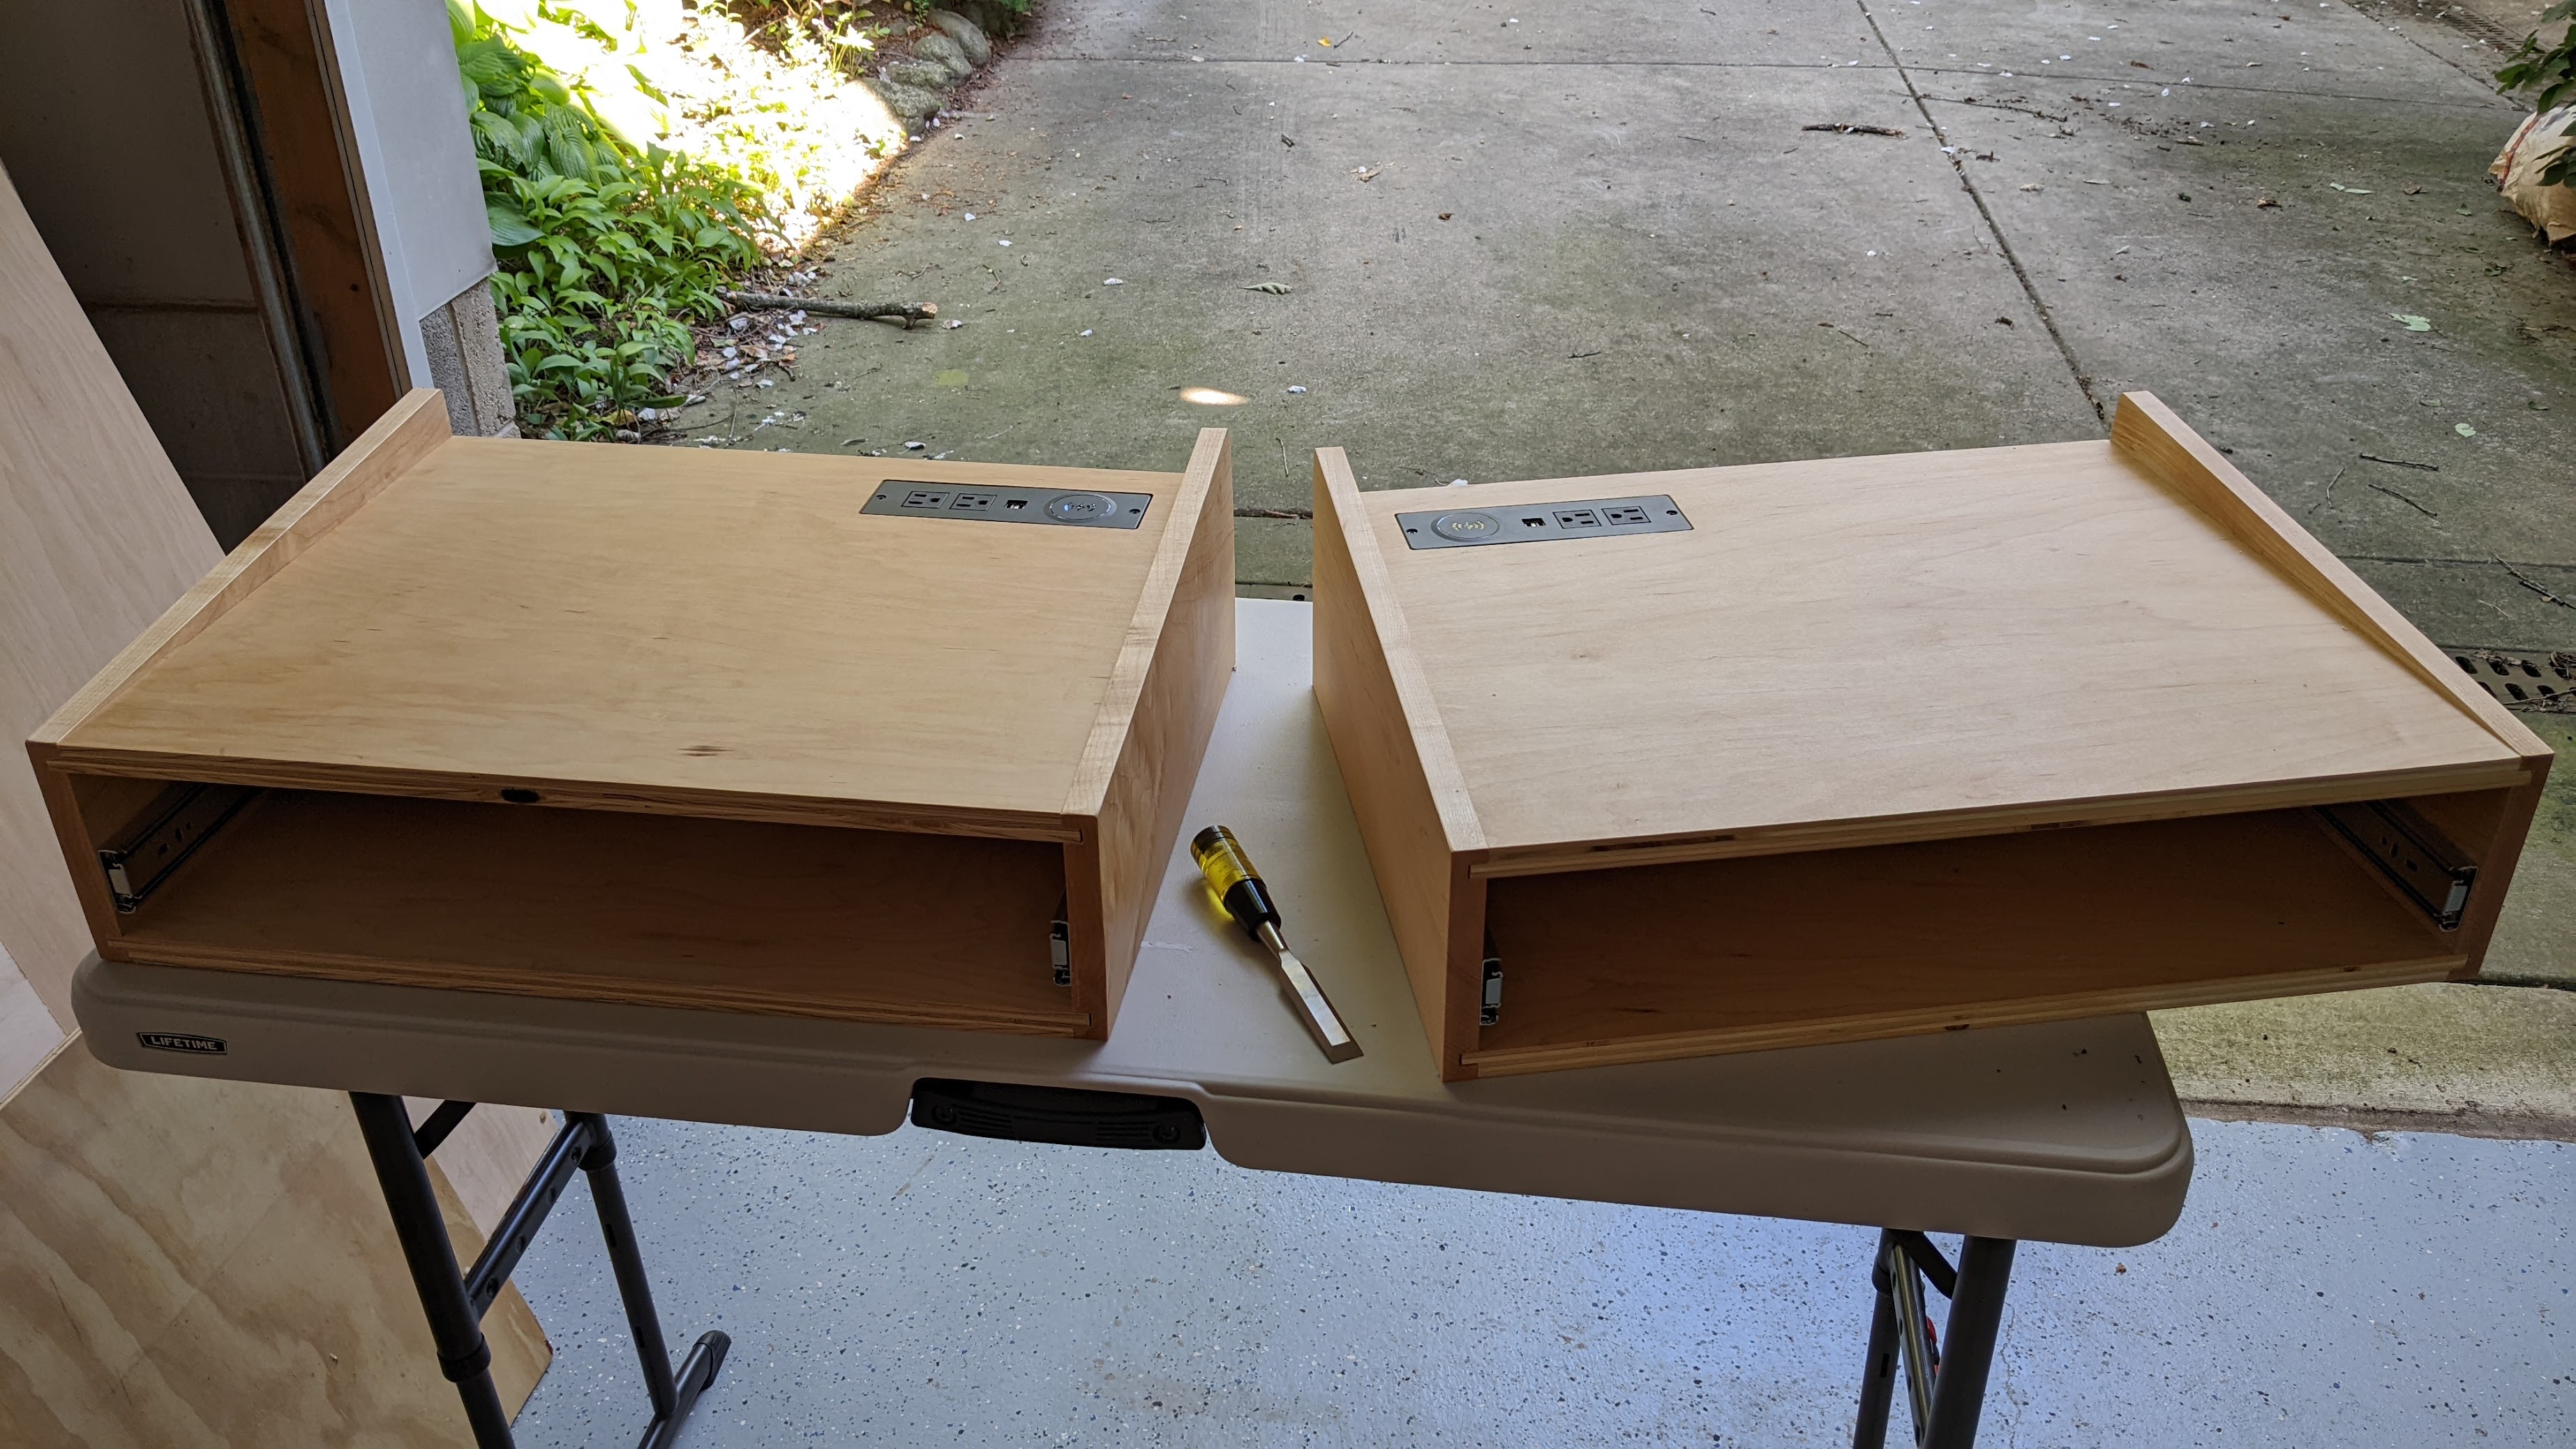
drawer boxes
Assembled drawer boxes with drawer rails and wireless charger/outlets attached

attached drawer box
drawer box attached to the headboard